Lesson 21: MCB 4th Grade Making a Timeline
|
Step 1: Today we are going to begin by creating a folder inside our student ID drive. We will name it after the person you are researching with the word "pics" after it. Together we will use "Google" (just click on the monkey) to search for images we will use in our timelines (at least - 6). We will save them inside that folder to use in step 2 of this lesson. To save a picture, you need to right click on the picture and choose "save as" and find the folder we created.
|

|
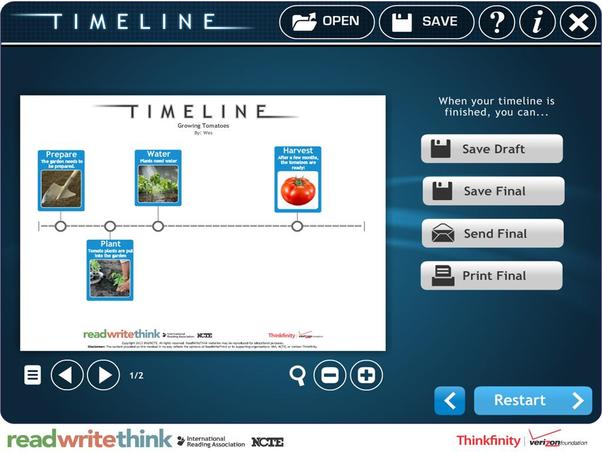
Step 2: Click on the above hyperlink to go into the online program that will guide you through your timeline. Use your notes from our past research to create the tabs on the timeline. You will also insert a picture for each tab. When you have completed your timeline you will save it and print to present to your class!