Lesson 9: Labelling in Microsoft Word
|
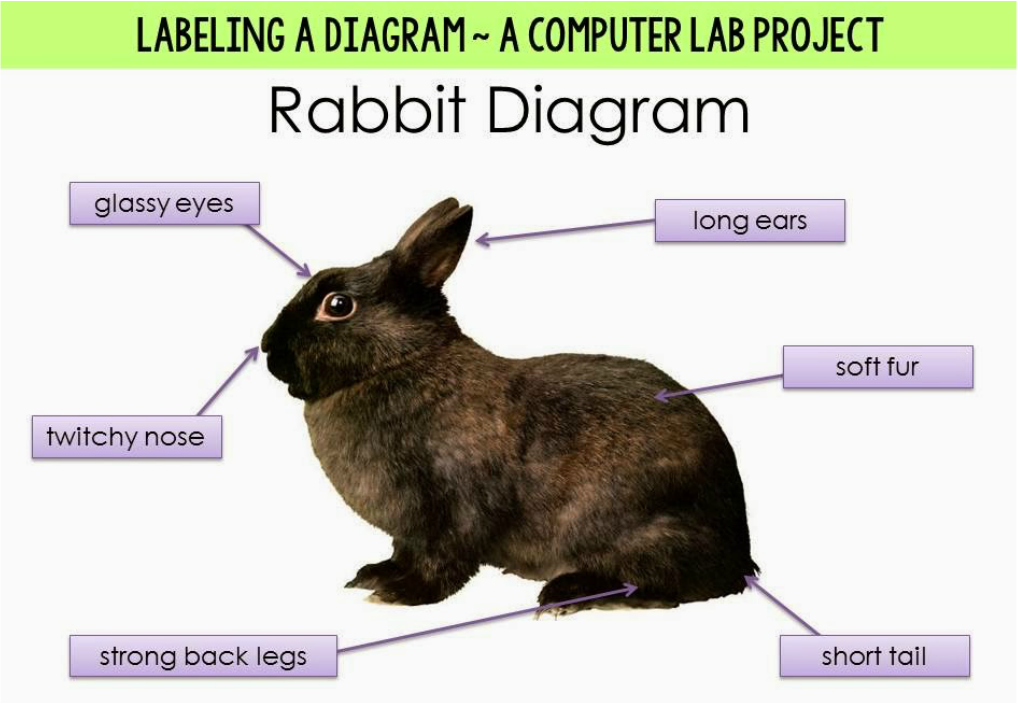
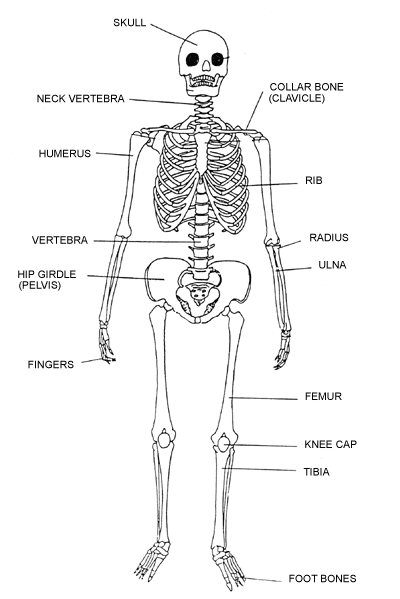
Today we are going to learn more about Microsoft Word. We are going to create a diagram! We will label a picture like the rabbit below. However, we will be labeling the bones on the human body.
|
|
Here are the steps we will take to create our diagram:
1) Click and open the Microsoft Word icon on your desktop
2) "Save As" to put this new file in your "H" student ID drive. Let's call it "(your name) Bones Diagram"
3) Let's go to "Insert" and insert a photo that is saved for you in the "shared folder". You can use the skeleton of your choice!
4) Make sure your in the "format" tab--and click on "Text Wrap". Select "Behind Text".
5) Resize your picture so it is large and takes up most of your page.
6). "Insert" a "Word Art". Type in your title "Human Skeleton, by _______".
7) "Insert" a text box (simple text box). Type your first word. Change the size & style of the font. Make sure all your labels are done in the same font, size, and color. It helps to keep the look organized and clean. Click on the box and drag it to where you want it. It should be close to the area on the skeleton you are labeling.
8) Change the way the text box looks by click on the box and selecting "format". Change the shape fill, shape outline, and shape effects. All the boxes on your page need to be in the same shape, outline and color.
9) "Insert" a shape and add an arrow line. Click and drag the arrow from the word box to the part on the skeleton you are labeling. You can change the way the line looks by click on format and change the style and/or outline. All lines on the page need to be exactly the same!
10) Make sure it looks exactly as you want it and "save" one more time to your "H" drive.
|
|
